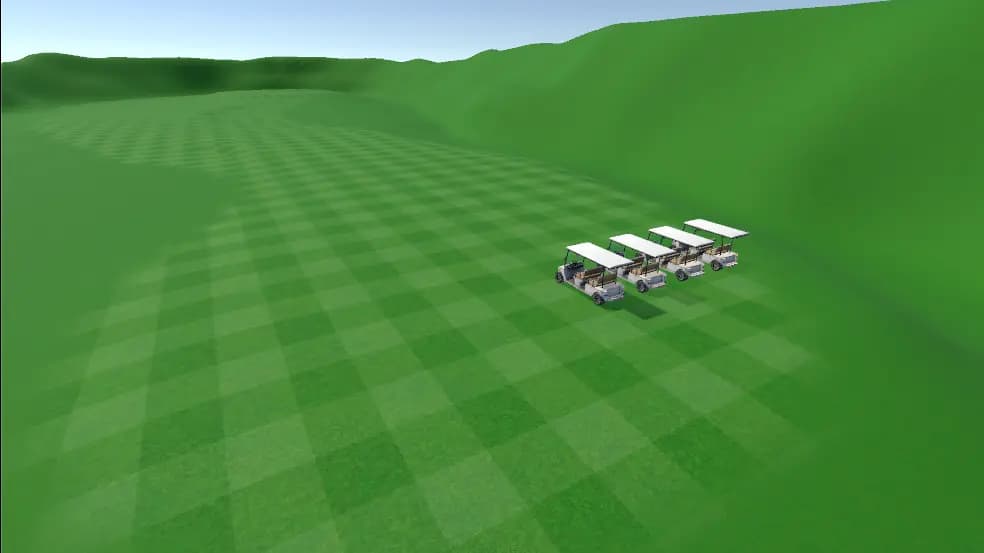
Warning
This template implements vehicles controls using Visual Scripting. To implement vehicle controls with C#, see Vehicles and the Simple Car Controller template!
Setting Up Your Own Vehicle
If you wish you to set up your own vehicles using the same Visual Script used in this project, follow the guide here:
Importing a Vehicle Model & Requirements
- Import your vehicle model as an FBX file or .UnityPackage into your Unity project
- Supports grounded, 4 wheeled vehicles
- Each wheel needs to be a separate mesh/object within the model
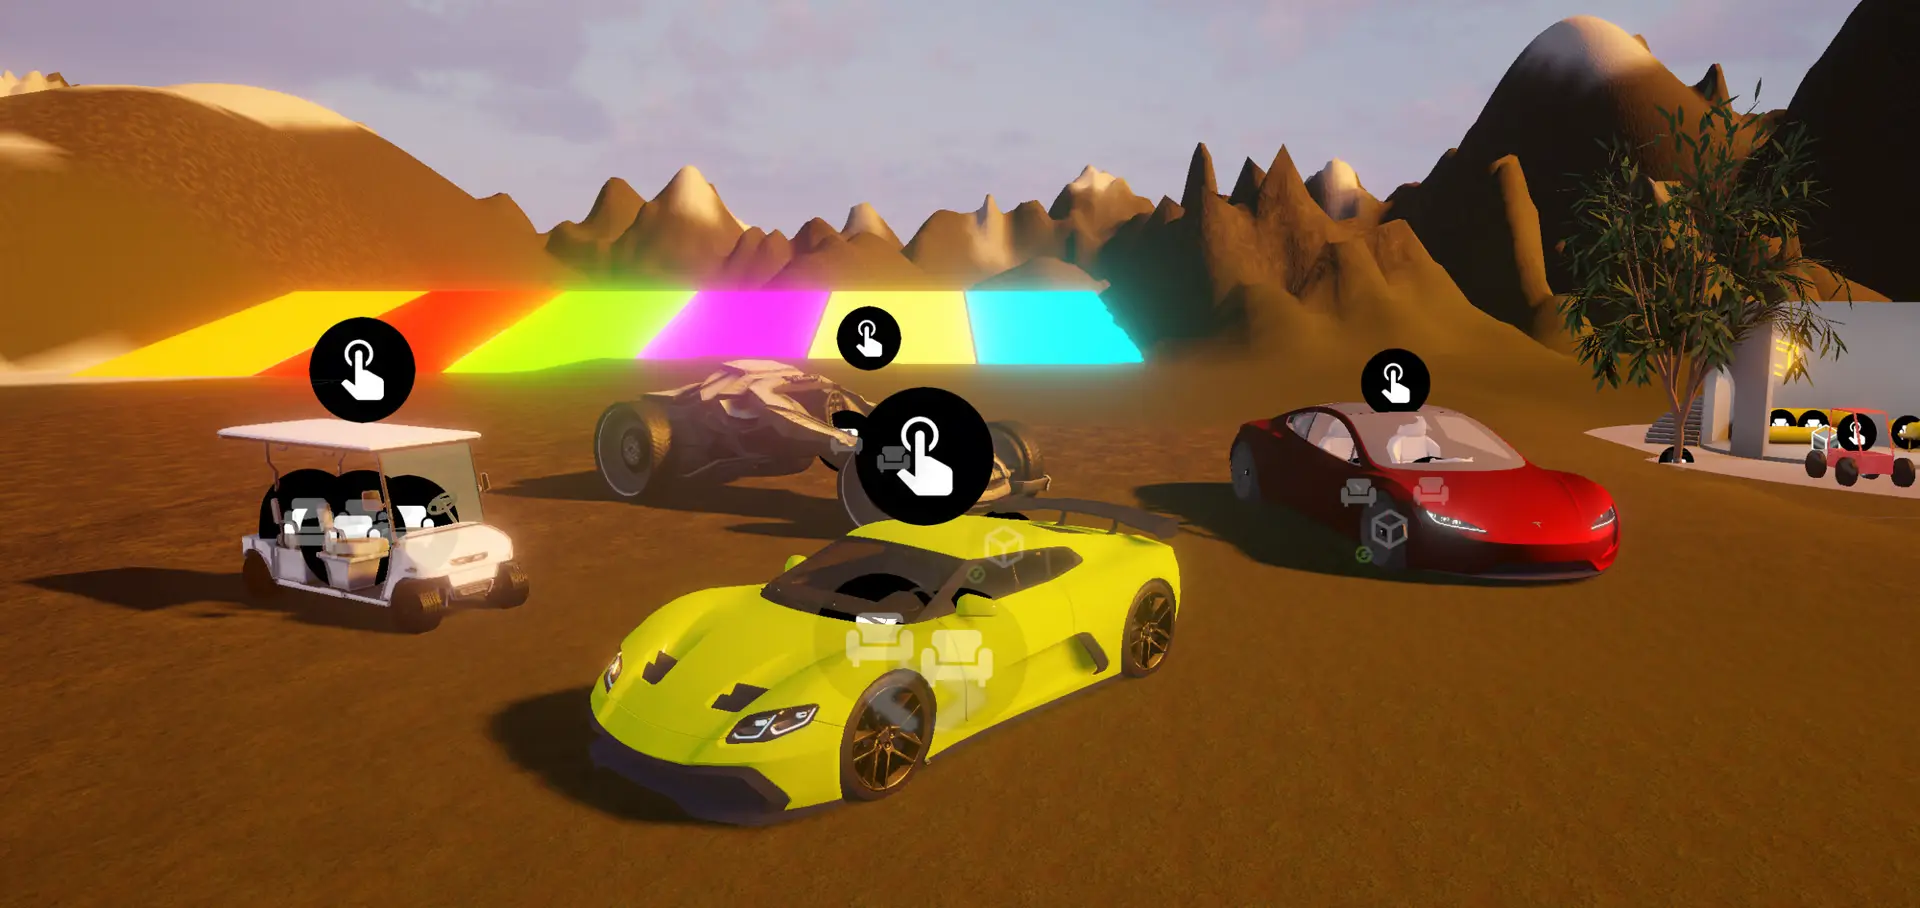
Setting Up Your Vehicle (Grounded, 4-wheeled)
1. Change the Layer of your vehicle to Vehicles

2. Add a Rigidbody component to the top level of your vehicle's hierarchy
- Make sure to set the Mass of your vehicle (in KG), as well as the Drag and Angular Drag values.
- Leave Interpolate as the Collision Detection for smoother results
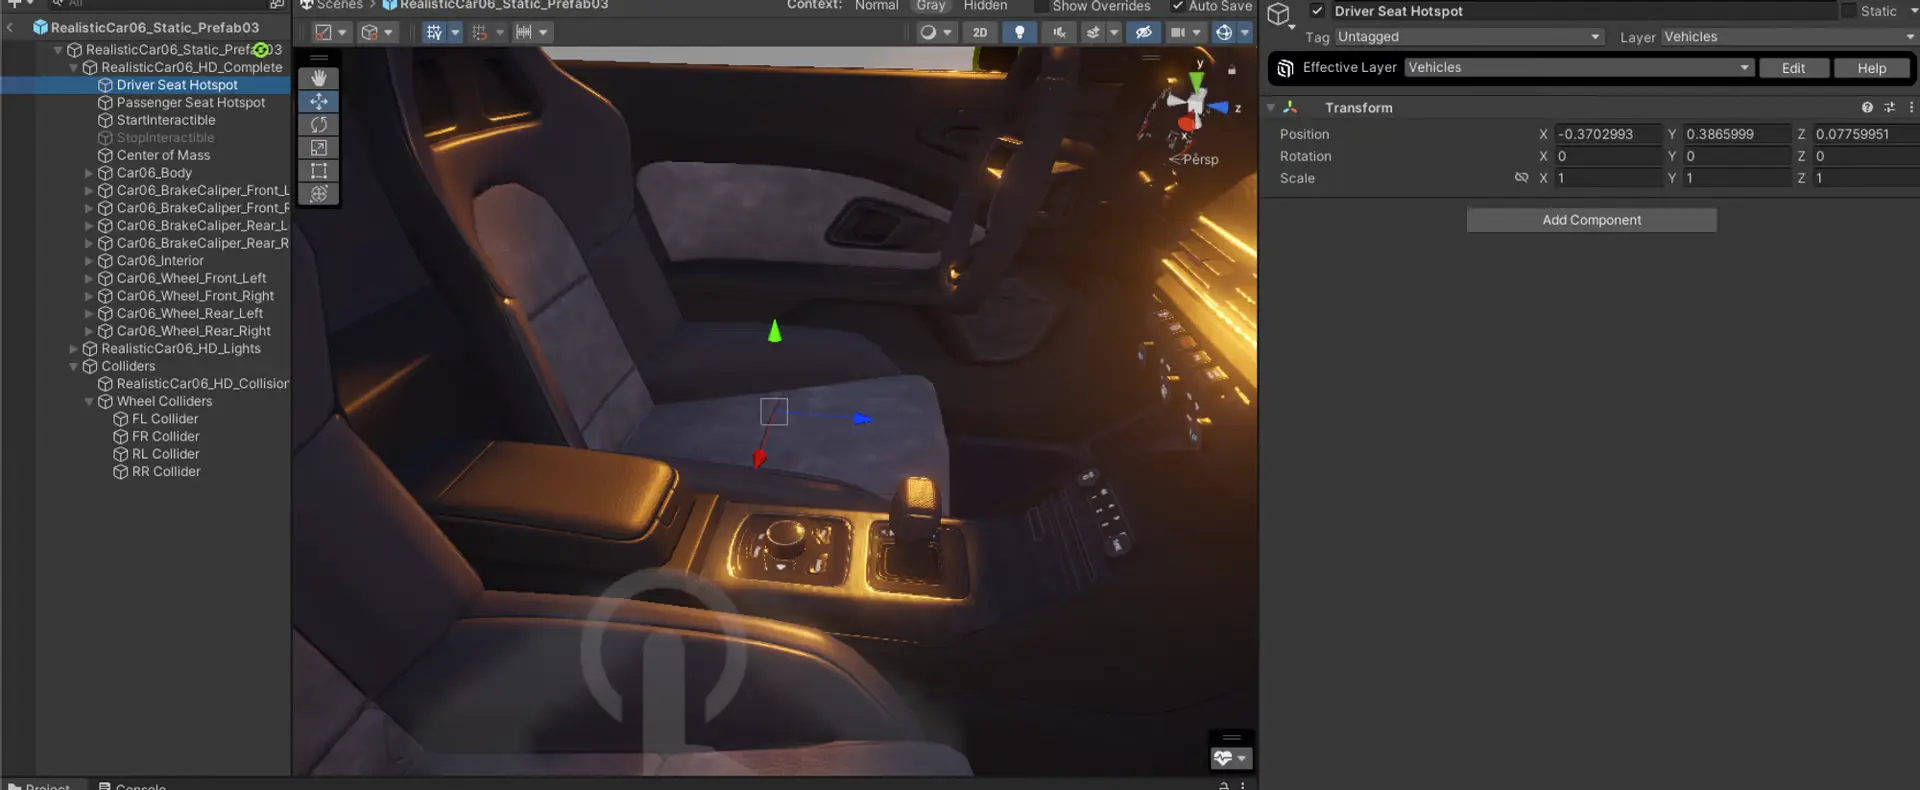
3. Place an empty GameObject for the driver seat position
Move the GameObject to the location where the driver will be seated. Do NOT add it as a Seat Hotspot. Make sure it is a child of the vehicle!
4. Add a Mesh or Box Collider to the vehicle’s body
5. Add a Center of Mass
- Create an empty Game Object, renamed to "Center of Mass", and make sure it is a child of the vehicle
- Move the Game Object to the approximate position of the Center of Mass of the vehicle
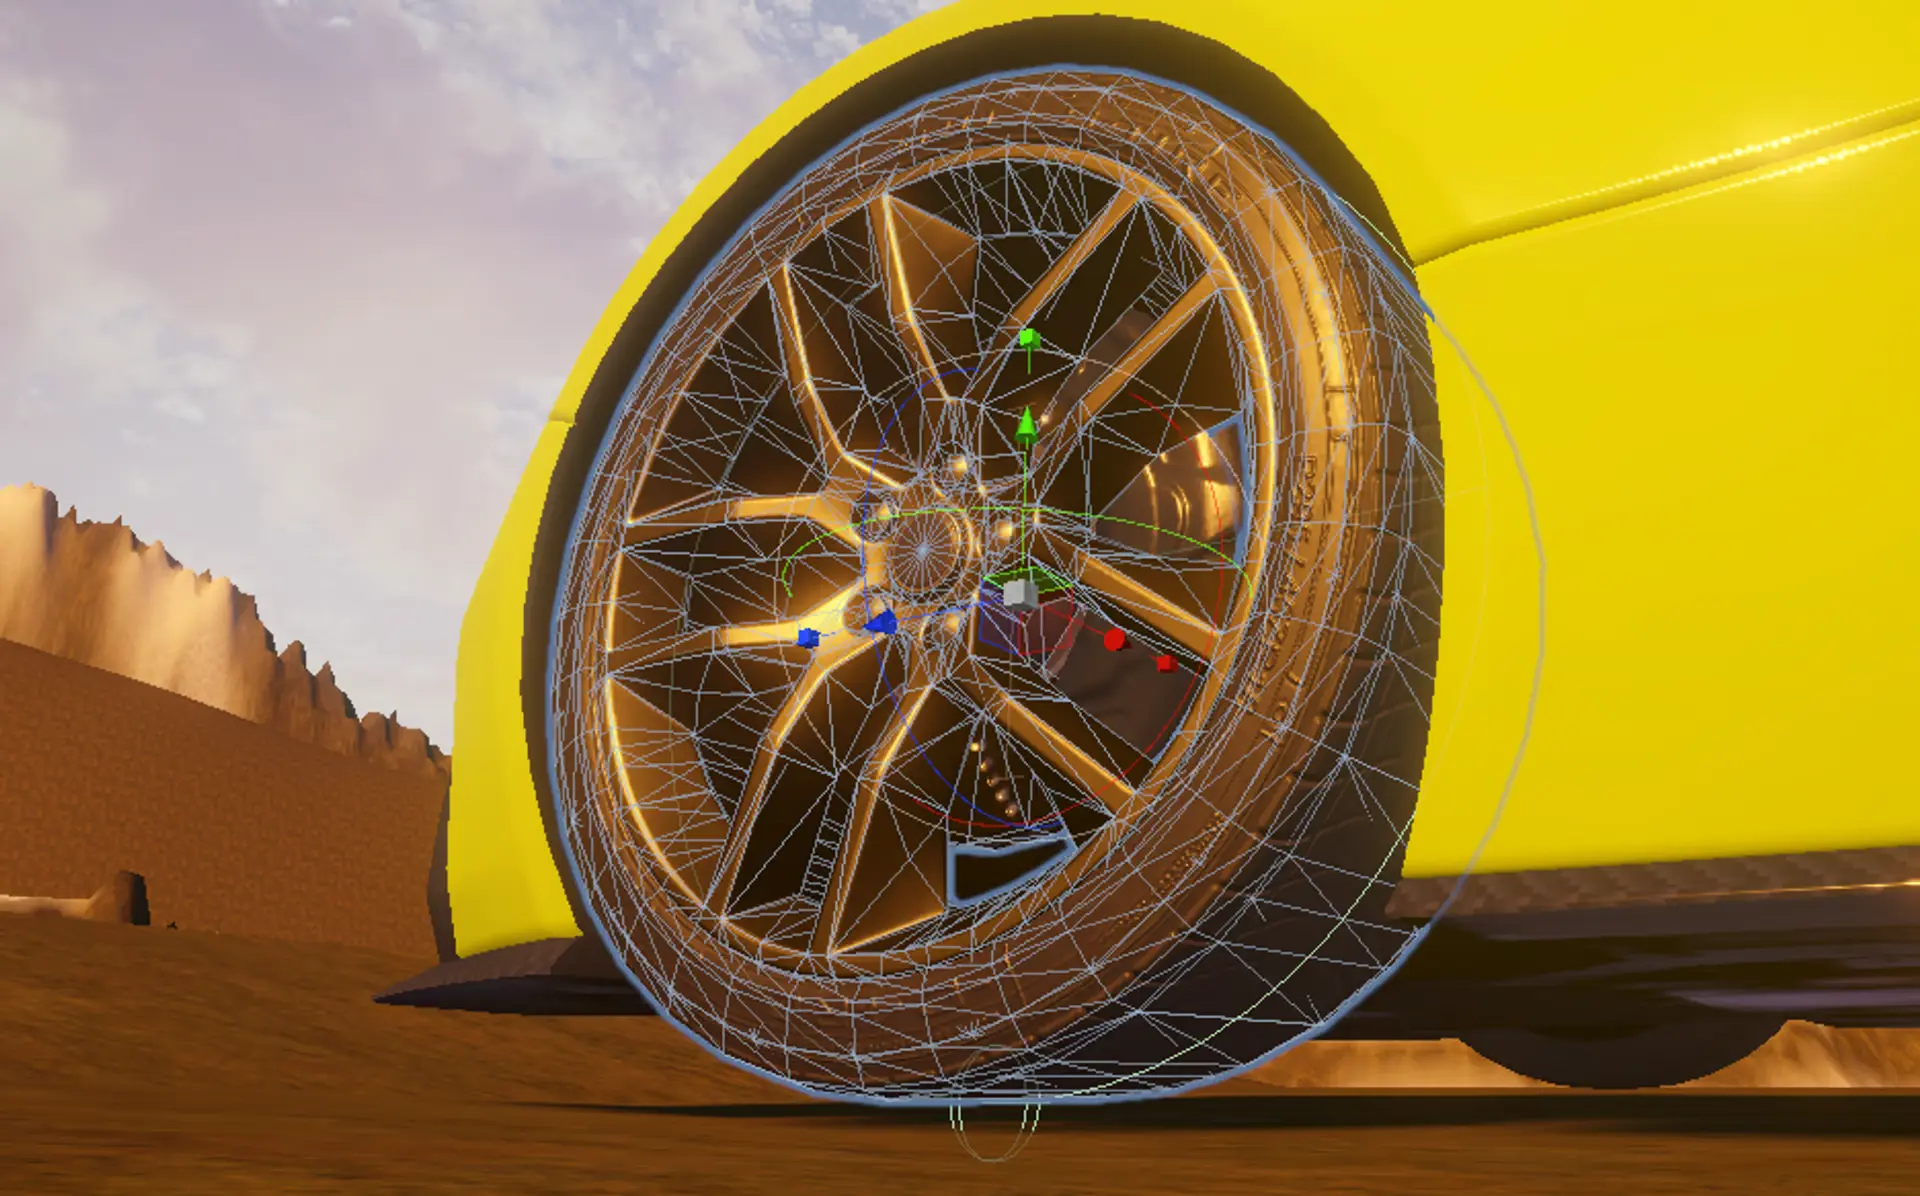
6. Add Wheel Colliders for each wheel
Make sure you have a rigidbody on your vehicle first!
- Create a new empty Game Object called “Wheel Colliders” to place all the wheel colliders into
- With Wheel Colliders, create a collider for each wheel
- Create an empty Game Object
- Add the Wheel Collider component to the Game Object
- Give the colliders a consistent naming convention
- for example “FR - Collider” for the Front Right wheel.
- Move the collider so it’s perfectly centered on the wheel
- Adjust the radius of the collider so it’s just visible around the wheel
- Ensure the wheel colliders and wheel meshes are facing the same orientation (Z+ forward orientation).
- Adjust the wheel collider's properties as you see fit (see Unity's documentation on the Wheel Collider Component).
7. Add 2 Interactable components
- StartInteractable: this will be used to have an avatar enter and take control of a vehicle.
- StopInteractable: to exit the vehicle and return control back to the avatar. Ensure that the StopInteractable component is disabled by default
No modifications or events for these Interactables are needed
8. Add a Variables component
- To the top level vehicle object, add a Variables component
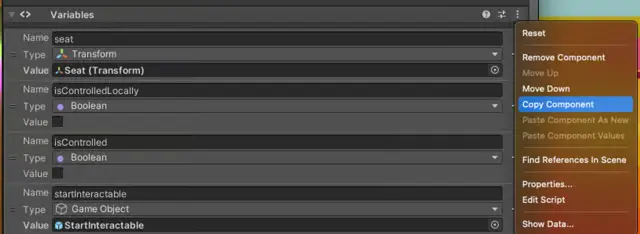
- Open the Golf Car vehicle sample provided in the template project, and copy it’s Variables component as shown below
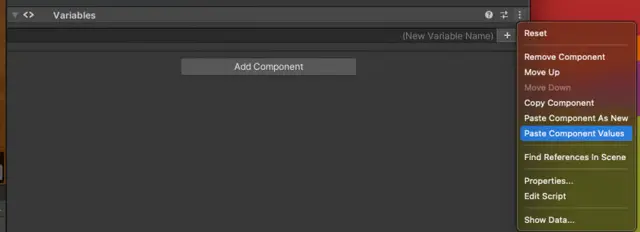
- Paste the Component values back in the Variables component of your vehicle
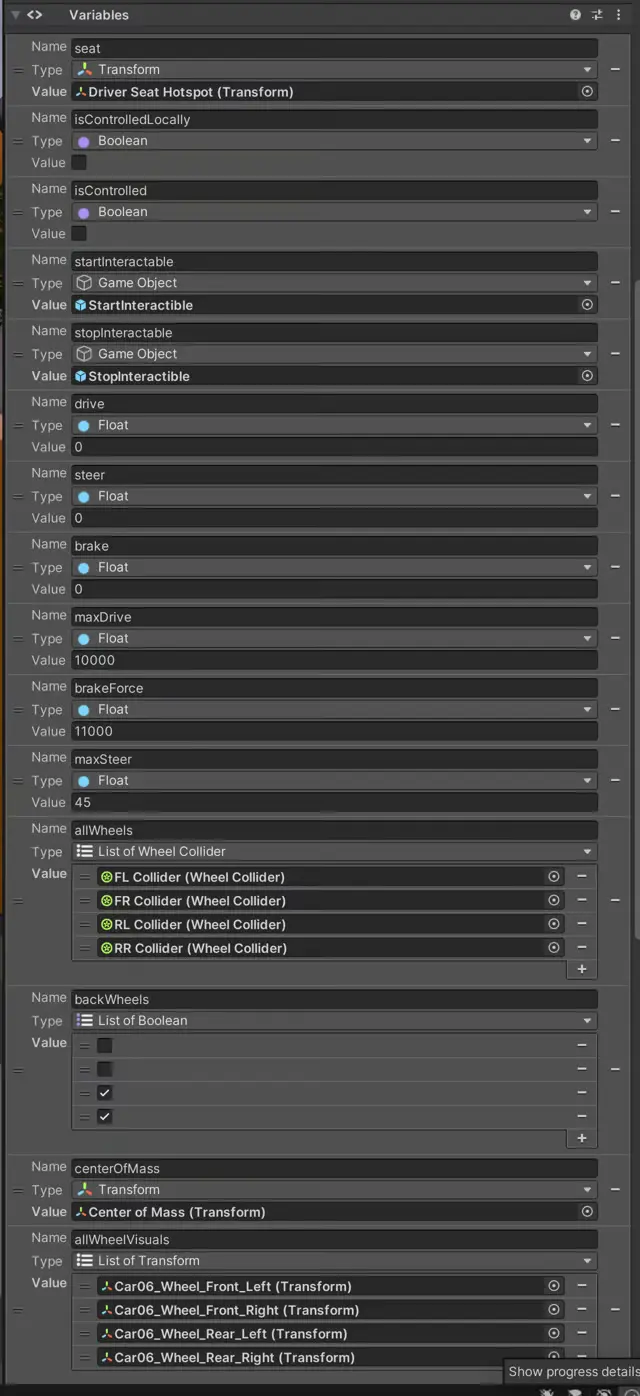
9. Assign your vehicle’s assets to the relevant Variables
- Driver Seat hotspot
- StartInteractable
- StopInteractable
- WheelColliders (in order: Front Left, Front Right, Rear Left, Rear Right) - rear wheels must be last two in the list
- Center of Mass
- CameraTarget - On web and mobile, the camera will focus on this point when you enter the vehicle.
- Wheel meshes (allWheelVisuals) - must be in same order as WheelColliders
10. Set values for other Variables
- maxDrive (Newton-Meters) - the maximum torque of the vehicle
- brakeForce (Newton-Meters) - the maximum brake force of the vehicle
- maxSteer - maximum angle that wheels turn (degrees)
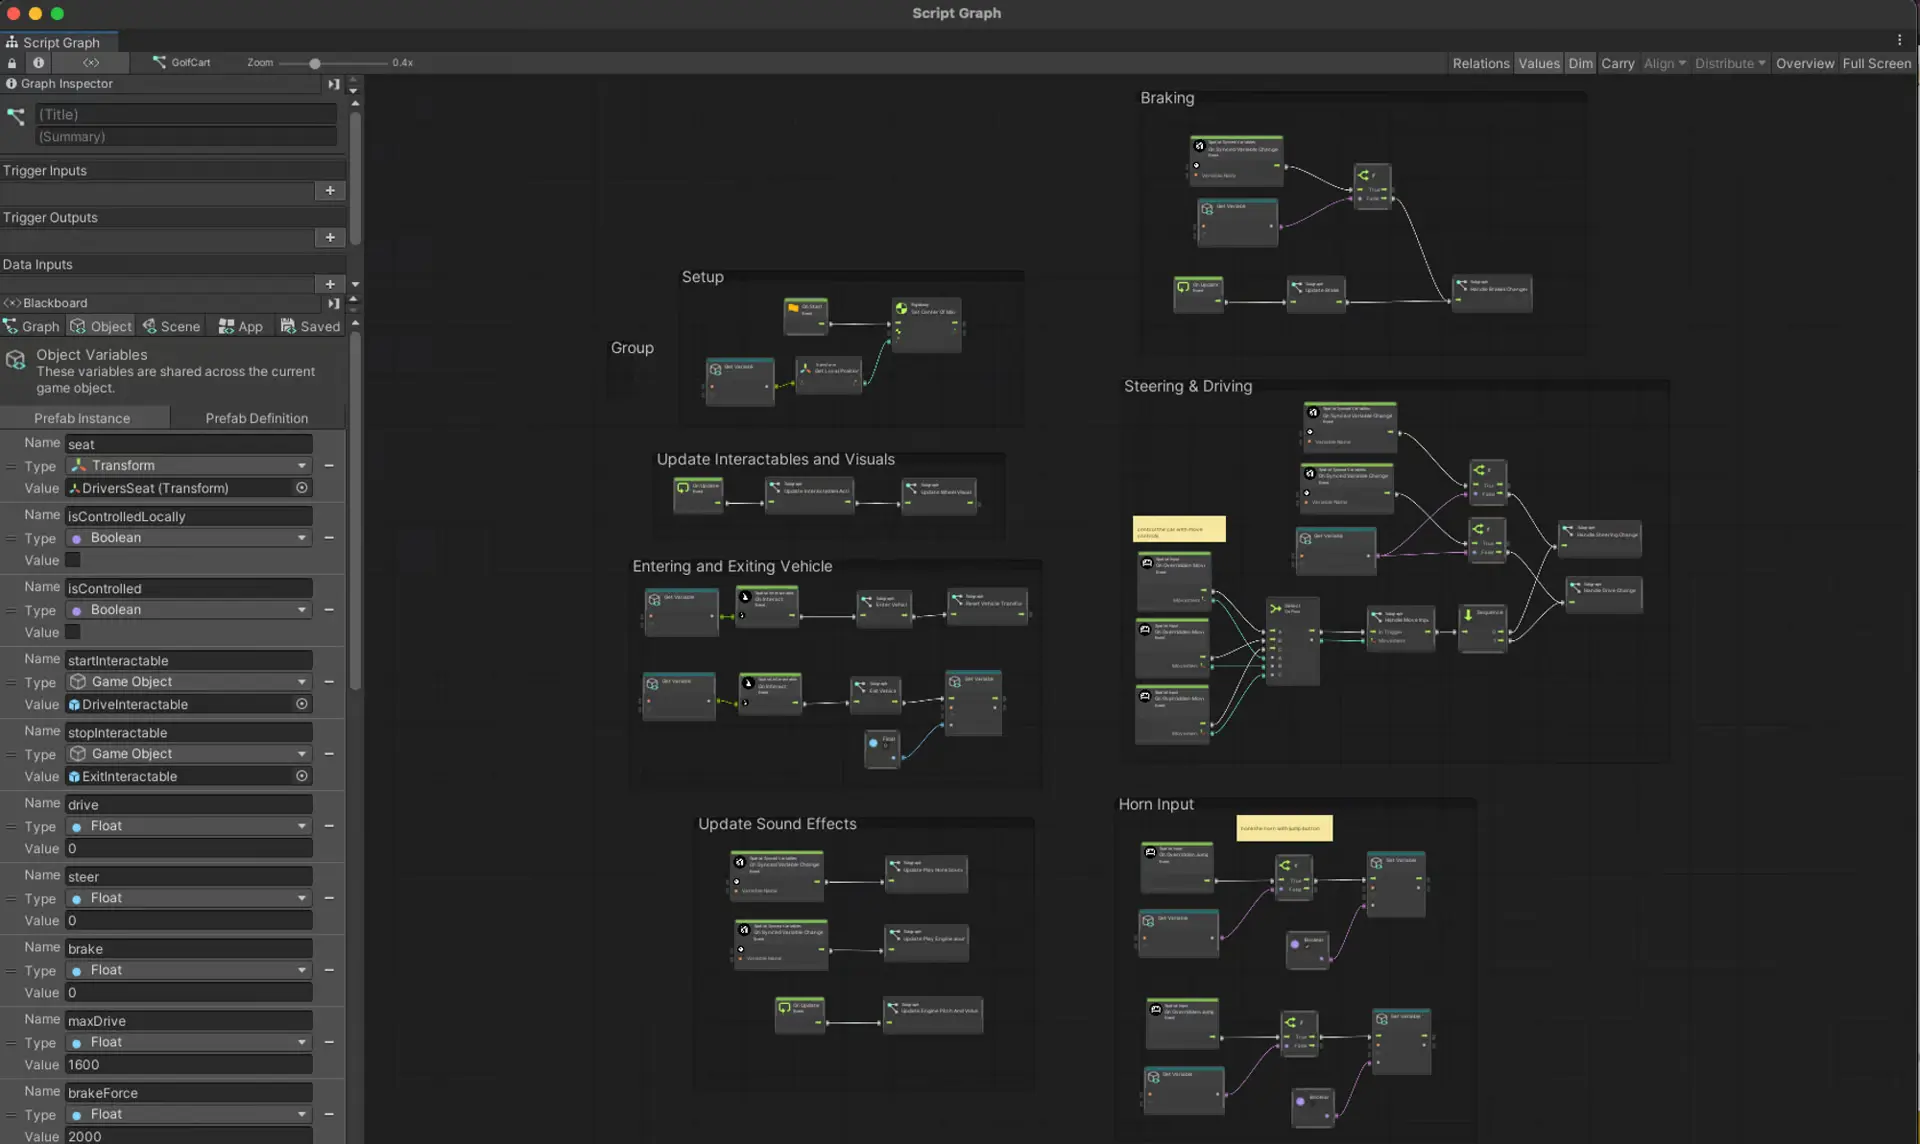
11. Add a Script Machine component to your vehicle to the top level of your vehicle
- Open the sample Vehicle, and under it’s Script Machine click Edit Graph
- Ctrl/Cmd + A to select all the nodes, then Ctrl/Cmd+C to copy them
- Back on your Vehicle’s Script Machine, click new and save your Script. Then Edit Graph.
- Cmd/Ctrl + V to paste all the nodes
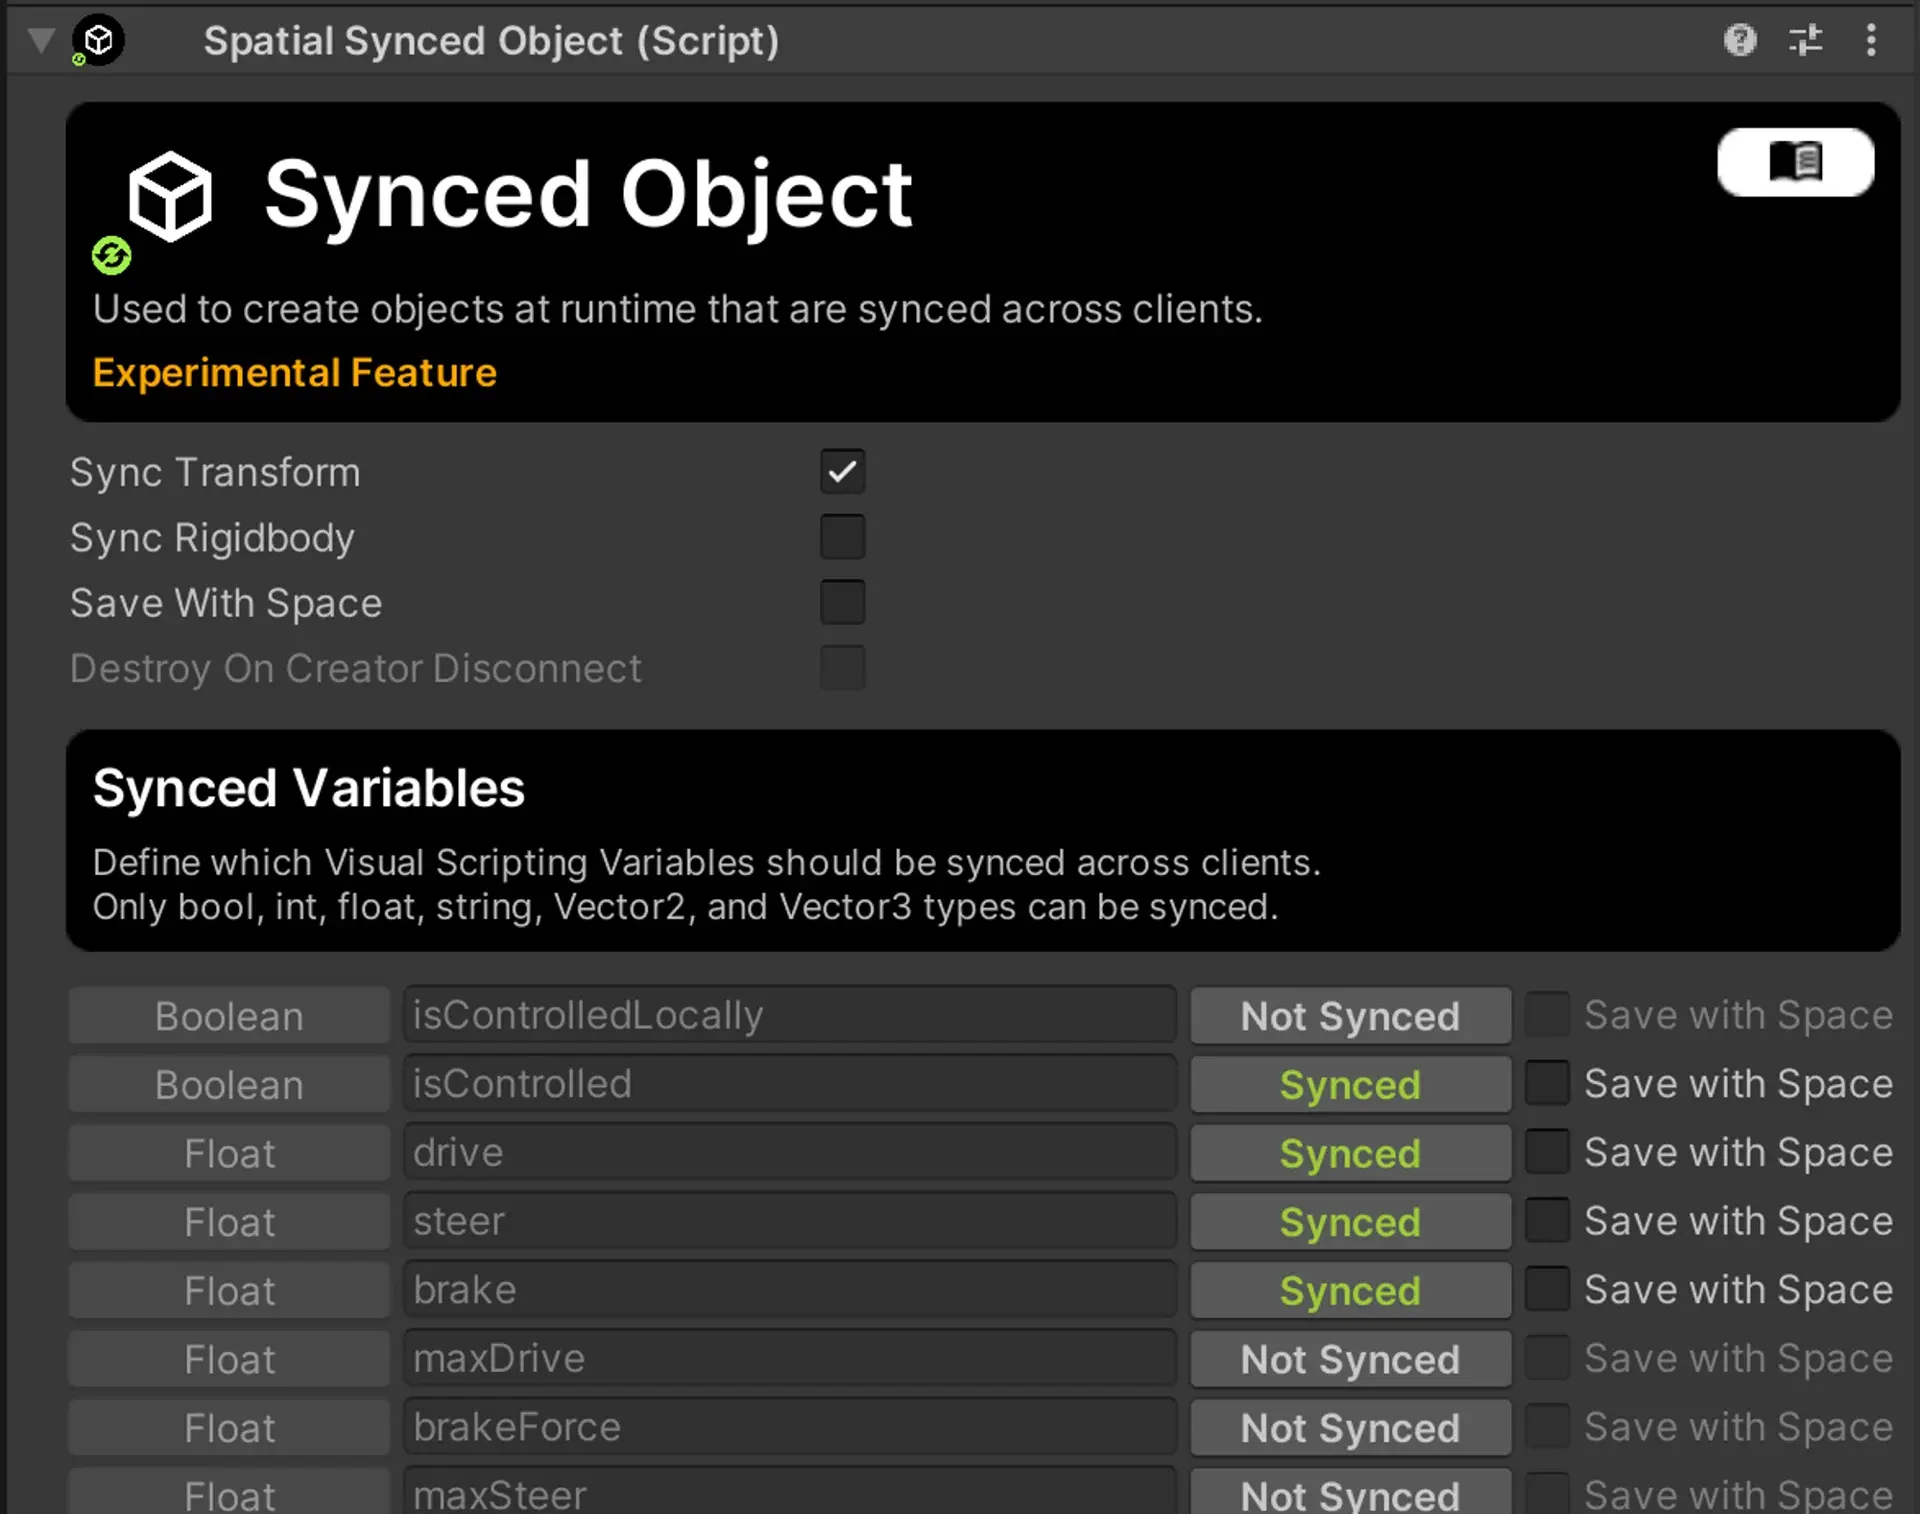
12. Add a Synced Object Component
- Check Sync Transform
- Under Synced Variables, enable the following variables to be Synced
- isControlled
- drive
- steer
- brake
- isHonking
13. Publishing
If publishing as an individual object that can be accessed from your Content menu, add the Prefab Object Component
Try it Out
To try out this template:
- Download the code using the View Code button
- Import the package into a new Unity project
- Follow the steps at Creating a Package to set up the configuration for your package type
- Test the package in your sandbox
